
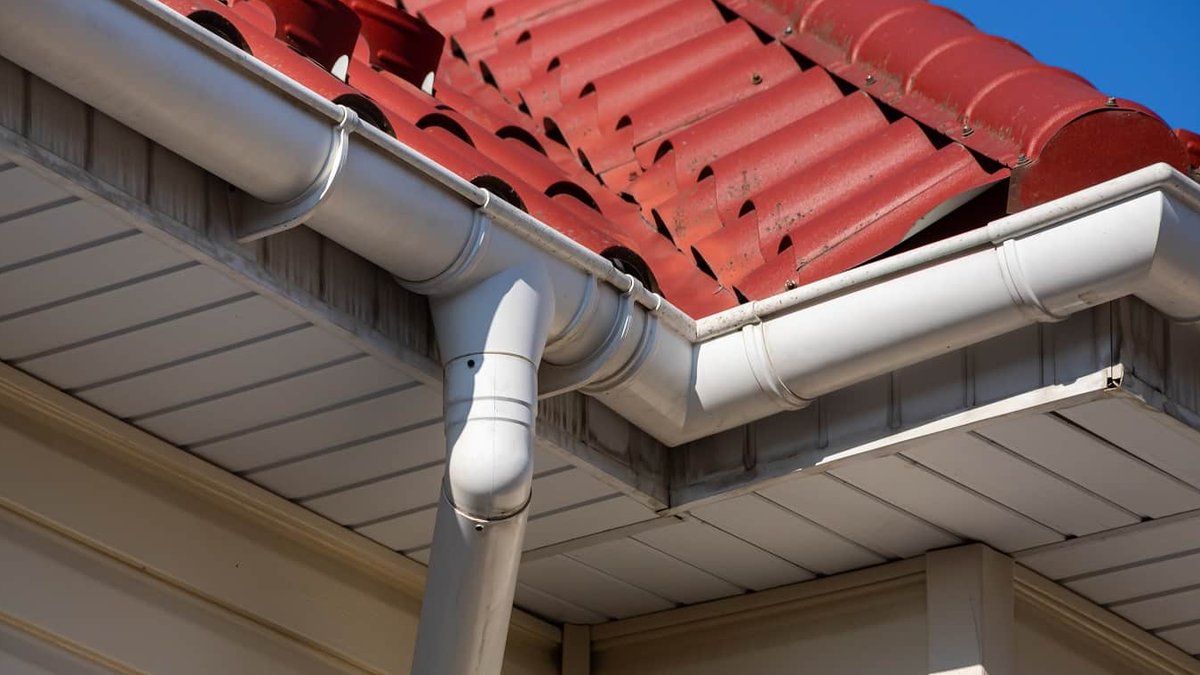
Installing or replacing gutters is a necessary task for homeowners to protect their houses from water damage. With the right tools and knowledge, this project can be easily tackled. The process involves several steps, from planning to maintenance, to ensure a proper gutter installation that will hold up over time.
Inspecting Current Gutters
The first step is to inspect the current gutters for style, fit, and damage. This involves looking at the different styles and fits, analyzing the functionality of the current system, and identifying any issues or inefficiencies. It’s also essential to look for damage and try to understand why it’s happening, which could be due to the installation angle or the materials used in the climate.
As part of this process, it’s a good idea to look into some of the best gutter guards for the new gutters. Gutter guards can significantly increase the longevity of the gutter system.
Preparing New Gutters
The next step is to browse and select new gutters, hangers, and gutter flashing. This involves estimating material needs by measuring around the home’s outer perimeter and planning for overlap and required excess material on corners. Gutter and downspout sections typically come in 10-foot lengths, and it’s essential to plan for 6-8 inches of overlap at each joint.
Related: Private Works Change Order Act Aids Subcontractors
The same principle applies to downspouts, which will need 4-6 pop rivets and ⅛ of a tube of silicone glue. Each corner of the gutter system will require 6-8 pop rivets and ¼ to ⅓ of a tube of silicone glue.
Measuring and Cutting New Gutters
This step requires attention to detail, as it involves measuring exactly how many linear feet of gutter are needed, accounting for overlap and required excess material on corners. Using a miter saw, the lengths of gutter are cut to size, and corner pieces are cut at a 45-degree angle at the very end of the section.
Different pieces of gutter should overlap by eight inches, and the side of the corner joint touching the fascia should be flush.
Attaching Gutters and Caulking
Before putting the gutters on the home, they need to be attached together and caulked. This involves overlapping the gutters by at least four inches and making sure that wherever visible, the factory cut edge stands out. The gutters are cut to extend an inch past the fascia board to help catch water from overhanging shingles.
A caulk designed for gutter installation is used, and all specifics and directions are followed.
Related: Five Small Business Loan Red Flags for Contractors
It’s worth considering the broader context of gutter installation, and how it fits into the overall maintenance of a home. A well-installed gutter system can help to prevent water damage and reduce the risk of costly repairs down the line.
Removing Current Gutters and Installing New Ones
The current gutters are carefully removed, and the new ones are installed.
Final Steps
The final steps involve strengthening the gutters with hidden gutter hangers, assembling and attaching downspout elbows, and sealing any gaps or holes.
For more information on gutter installation and replacement, homeowners can visit the United States Environmental Protection Agency website, which provides guidance on how to reduce stormwater runoff and protect homes from water damage, including the importance of replacing heating covers to improve overall home maintenance.


Leave a Reply