
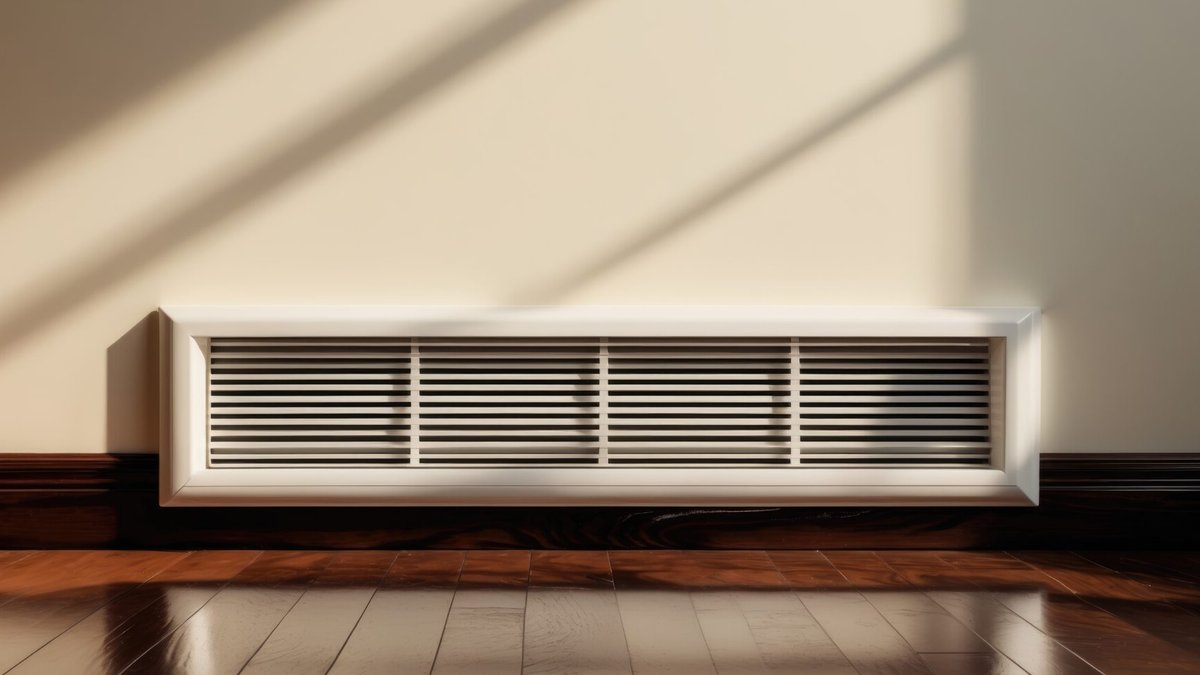
Replacing a worn-out baseboard heating cover is a straightforward DIY project that most homeowners can handle in an afternoon, often without removing the heating unit itself. The job essentially involves swapping decorative housing, though the cover does play a role in energy efficiency and safety. Precut covers, which cost between $20 and $50 per linear foot, are the easiest option for those on a budget.
Covers with holes, rust, yellowing, or dents should be replaced not just for looks but because they compromise energy efficiency and can pose safety risks to family members and pets who might hit sharp edges. Age and smoke can also cause yellowing that makes the cover an eyesore. Most standard replacement jobs don’t require disconnecting the heater — you turn it off, remove the old cover, and snap a new one in place.
What to Look for Before You Start
Signs it’s time to replace the cover include dings or dents that affect heating performance, holes or broken edges from rust, and general difficulty cleaning the unit. Some homeowners simply want a style upgrade. The cover protects the heating elements and helps distribute airflow evenly, so damage matters beyond appearance.
Most homes use either electric or hydronic (hot water) baseboard heaters. This guide focuses on hydronic systems, which tend to offer more DIY-friendly cover replacement options. Metal covers are generally recommended for their durability and high thermal conductivity, which means better energy efficiency.
Related: Removing Tree Stumps Made Easy
Tools and Materials You’ll Need
You’ll need a measuring tape, a pencil, a tool for cutting (utility knife, hacksaw, chopsaw, or carpet shears), a screwdriver, heavy gloves, safety glasses, and a towel or protective cover for the floor. Some DIY kits come with most components except the tools. You may also want paint if you plan to customize the cover.
The 6-Step Replacement Process
Step 1: Turn off the heater and measure. Shut the system down and let it cool completely. Remove the existing metal end caps, then measure the metal enclosure attached to the wall. Double-check that this length matches the replacement cover you purchased. Wearing heavy gloves is smart — the metal edges can cause serious cuts.
Step 2: Cut the new cover. Mark the cutting line with a pencil, then trim with a fine-tooth hacksaw, heavy-duty scissors, or sheet metal snips. Follow the manufacturer’s recommendations for cutting tools.
Step 3: Remove old components and clean. Take off any remaining parts of the old cover. Wipe away dust and debris that has accumulated under the heater. Check for caulking attaching the metal back plate to the wall — if it’s there, remove it so the new cover can snap into place properly.
Related: PHCC Names Quinonez CEO as Sheridan Retires
Step 4: Snap the new cover into place. Hook the bottom of the front cover under the bottom of the existing bracket. Lift slightly while pushing the top toward the wall, snapping the back tab between the existing metal enclosure and the wall.
Step 5: Install the end caps. Replace the end caps and adjust them as needed. Gently press the bottom of the front cover and the end caps until you hear a slight click. Repeat for all end caps.
Step 6: Test operation and finish. Turn the heater back on and check for good airflow and heating. If you plan to paint the cover, turn the heater off first and let it cool before applying paint.
Some baseboard heaters have odd shapes or sizes that may require a custom-made cover rather than a standard precut option. That said, most standard setups work fine with snap-in-place one-piece kits, which are the simplest route for the average homeowner.
Related: Bipartisan ROAD to Housing Act Passes Expanding Affordability
Material Choices and Costs
“When choosing a baseboard heating cover, homeowners should balance aesthetics with functionality, ensuring the design allows for efficient airflow while complementing their home’s decor,” said Phil Oliver, co-owner of Air Treatment Heating & Cooling in Virginia. “Materials like metal, wood, or even custom designs can vary widely.”
Replacement costs typically range from $20 to $50 per linear foot, though Oliver noted that costs can run from $30 to $100 or more per linear foot depending on material, style, and whether the cover is standard or custom-fit. DIY-friendly options like NeatHeat, which makes covers only for hydronic heaters, retail for less — a 6-foot slip-on front cover costs about $39.99 at Lowe’s, or roughly $6.66 per foot.
Metal covers, particularly galvanized steel, offer the best energy efficiency and corrosion resistance. Wood, plastic, and medium-density fibreboard are also options, but they don’t conduct heat as well. Before buying, measure the existing heater and decide between a full-length snap-in kit and modular parts.


Leave a Reply