
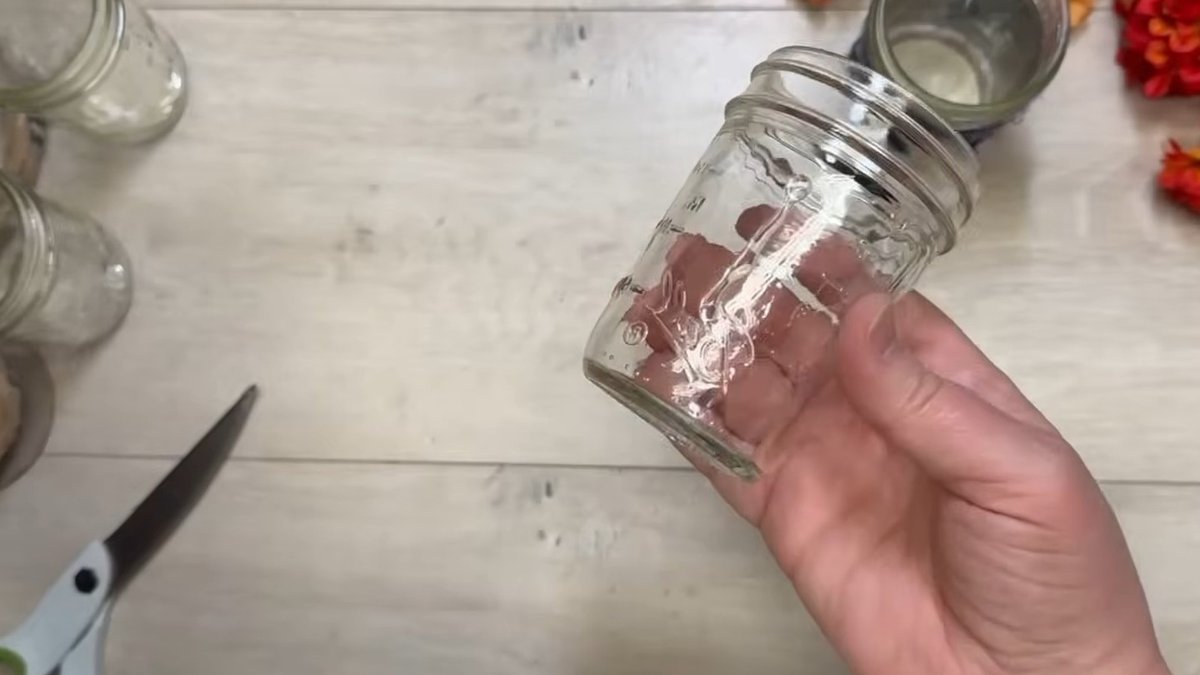
Creating a Mason jar lamp can be a cheap way to add light without splurging on a designer fixture.
Materials and Cost
The simplest route uses a ready‑made Creative Hobbies Mason Jar Lamp Making Kit, which the listing shows for $10 on a major retailer. If you already own a large glass vessel, you can skip the kit’s jar and just buy the socket and cord.
For the shade, repurpose one from an old lamp or pick up a thrift‑store option. This keeps the project affordable and prevents the need for a brand‑new purchase.
Beyond the basic kit, most of the decorative supplies can be found at a local craft shop or even a dollar store, meaning you won’t need to hunt for specialty items. The socket and cord that come with the kit are the only electrical components required, so the bulk of the expense lies in the jar you already have and any optional shade you choose to reuse.
If you prefer to avoid any purchase at all, a thrift‑store canister can serve as the base for a similar conversion, demonstrating how the same hardware can adapt to a variety of container shapes while still delivering a cohesive lighting solution.
Design Ideas and Customization
Start by washing the container thoroughly. Once it’s dry, decide whether you want the exterior to stay clear or to receive a finish. Painting the outside creates an opaque look, while decoupage with patterned napkins adds texture without hiding the glass.
Another method tints the glue with food coloring, giving the surface a subtle hue that still lets light filter through. Inside, you can add filler items that match a theme—driftwood and shells for a beach vibe, coffee beans for a kitchen bar, or vintage thread spools for a craft room.
These filler choices are easy to swap out, so you can change the look with the seasons or simply when you’re in the mood for a new aesthetic.
When the exterior is ready, attach the socket to the lid. The design of the kit routes the cord through the metal top, so no drilling of the glass is required—a safety benefit that many overlook.
After securing the socket, screw on the shade you selected.
Battery‑powered options exist for those who prefer cordless setups, and similar kits can adapt thrift‑store canisters into vintage‑style lamps.
Related: Old frying pans get new life at home
Before you begin, give the Mason jar a good scrub to remove any residue; a clean surface ensures that paint, glue, or decoupage adheres evenly. If you opt for a painted finish, you can choose matte, glossy, or even metallic paints to match the room’s décor.
Decoupage offers another pathway to personality. By cutting patterned napkins to the size of the jar and sealing them with a thin layer of craft glue, you create a textured surface that still lets light diffuse through the edges. This method works well with vintage‑inspired patterns, giving the lamp a nostalgic feel without sacrificing illumination.
When you decide to tint the glass, mixing a small amount of food coloring into clear‑drying decoupage glue yields a translucent wash of color. The resulting effect is subtle enough to maintain the jar’s transparency while adding a hint of hue that can be coordinated with the filler items inside.
Speaking of fillers, loose natural elements such as pine cones or moss balls slide easily into the jar and require little arrangement, creating an organic backdrop for the bulb. For pieces that you’d like to keep in a fixed position—perhaps a cluster of seashells or a small bundle of vintage thread spools—applying a dab of clear‑drying adhesive to the bottom of the jar secures them in place without affecting the overall light output.
The flexibility of filler materials means you can refresh the lamp’s look whenever inspiration strikes. Swapping pine cones for dried lavender in the fall, or replacing seashells with tiny holiday ornaments during winter, gives the lamp a dynamic quality that evolves with your interior design preferences.
One of the most appealing aspects of the kit is the way the cord is integrated. The wire connects directly to the metal lid, eliminating the need to drill a hole through the glass. This not only preserves the structural integrity of the jar but also streamlines the assembly process, making it accessible even to those who have never worked with electrical components before.
If you prefer a cordless solution, battery‑powered LED modules are compatible with the same socket, allowing the lamp to sit anywhere without being tethered to an outlet. This is especially useful for rooms where plug placement is limited or for creating portable accent lighting on a bookshelf or patio table.
Beyond Mason jars, the same principle can be applied to other containers. Thrift‑store canisters, for instance, can be transformed into charming vintage‑inspired lamps by using the identical socket kit, demonstrating how a single hardware set can unlock a variety of creative possibilities while keeping costs low.
By repurposing items that might otherwise be discarded, this project shows the idea that old Mason jars aren’t trash but rather raw material for functional art. The combination of a simple electrical kit, a bit of imagination, and readily available decorative supplies yields a lamp that feels both personal and polished.
For more ideas, product picks, and step‑by‑step guides, consider joining the free weekly newsletter that highlights budget‑friendly upgrades for any space.


Leave a Reply